Root cause analysis during incidents is one of the most time-consuming and stressful parts of operating cloud applications. Engineers must quickly correlate telemetry data across multiple services, review deployment history, and understand complex application dependencies—all while under pressure to restore service. AWS DevOps Agent changes this paradigm by bringing autonomous investigation capabilities to your operations team, reducing mean time to resolution (MTTR) from hours to minutes.
However, the effectiveness of AWS DevOps Agent depends heavily on how you configure your Agent Spaces which control resource access boundaries. An Agent Space that’s too narrow misses critical context during investigations. One that’s too broad introduces performance overhead and complexity. This post provides best practices for setting up Agent Spaces that balance investigation capability with operational efficiency, drawing from our experience onboarding early customers and using DevOps agent across our own teams.
By the end of this post, you’ll understand how to structure Agent Spaces for optimal investigation accuracy, determine the right scope of resource access, and use Infrastructure as Code (IaC) to streamline deployment. Let’s start by understanding the foundational concept that makes all of this possible: the Agent Space itself.
An Agent Space is a logical container that defines what AWS DevOps Agent can access and investigate. Think of it as the agent’s operational boundary—it determines which cloud accounts the agent can query, which third-party integrations are available, and who can interact with investigations.
Agent Spaces are critical because AWS DevOps Agent needs sufficient context to perform accurate root cause analysis.
When an incident occurs, the agent:
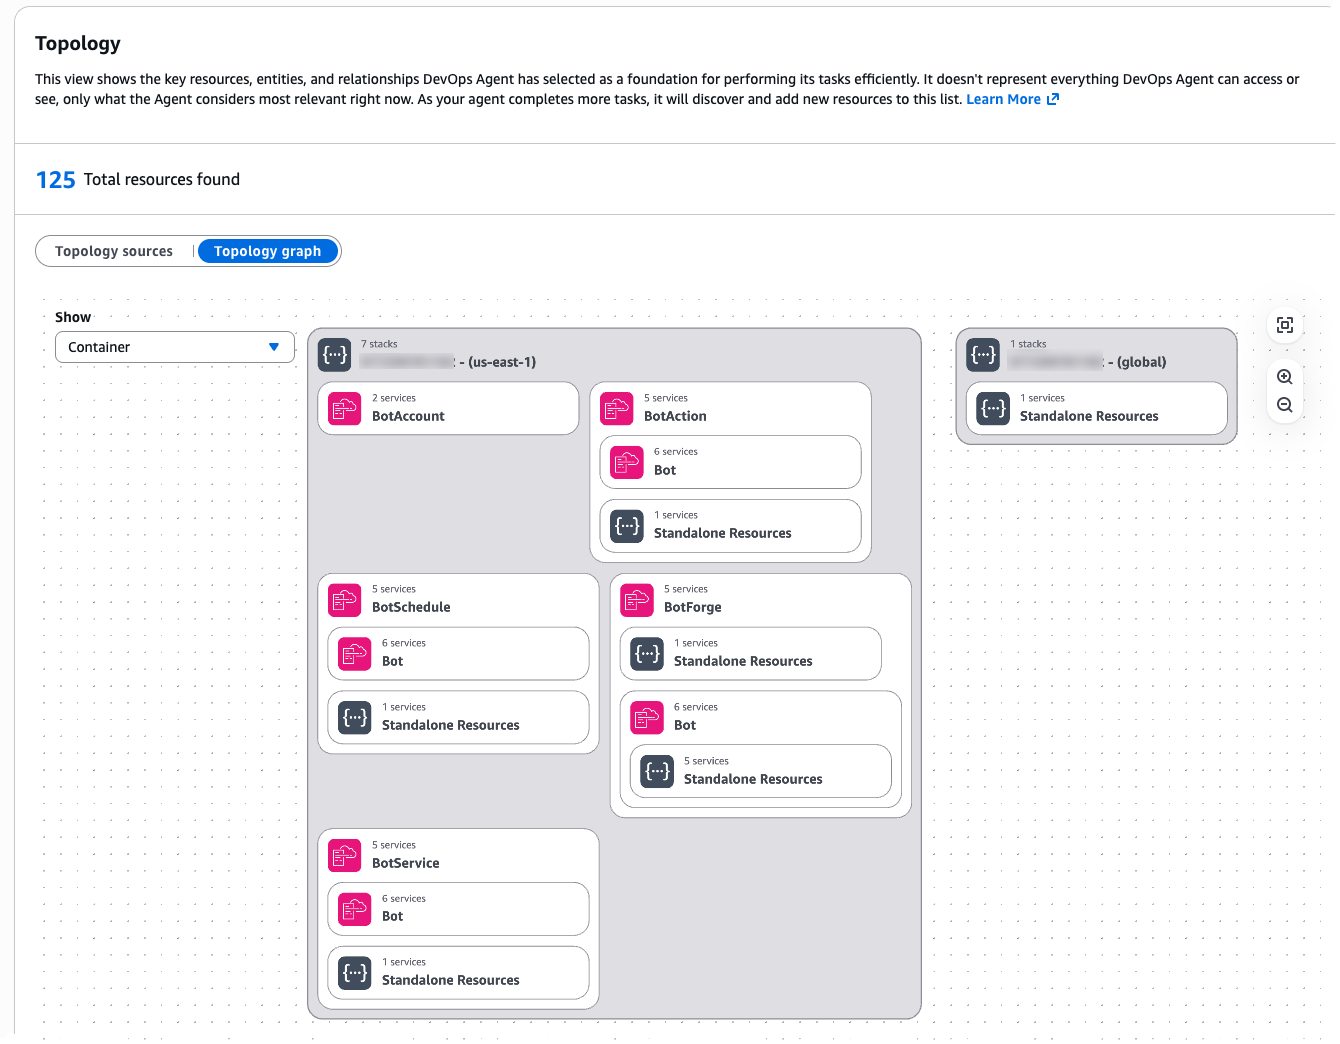
Figure 1: Agent Space Topology
If the Agent Space doesn’t include access to a critical account or integration, the agent might miss the root cause entirely. Conversely, an overly broad Agent Space introduces performance challenges as the agent considers more resource permutations during investigations.
Understanding these trade-offs between scope and performance is essential. The question becomes: how do you determine the right boundaries for your specific organization and operational model?”
We recommend thinking about Agent Space boundaries the same way you think about on-call responsibilities: grant access to accounts relevant to the application, but separate production from non-production environments.
This approach provides several benefits:
Start by mapping your application architecture to Agent Space boundaries and consider the following questions:
Example decision tree:
Application: E-commerce Platform ├── Production environment │ ├── Account 111111111111 (Frontend) │ ├── Account 222222222222 (API Gateway + Lambda) │ └── Account 333333333333 (RDS + DynamoDB) ├── Staging environment │ └── Account 444444444444 (All resources) └── Development environment └── Account 555555555555 (All resources)
Recommended Agent Spaces: → "EcommerceProd" (accounts 111111111111, 222222222222, 333333333333) → "EcommerceNonProd" (accounts 444444444444, 555555555555)
Figure 2: Agent Space boundaries mirror on-call team responsibilities
Beyond the basic single-application pattern, organizations encounter more complex scenarios that require careful consideration. Here are critical patterns to address these scenarios that we’ve seen customers successfully adopt:
Pattern 1: Investigations Spanning Multiple Teams. Large organizations with multiple teams (example: 3 teams managing 100+ production accounts) encounter situations where an issue originates in Team A’s infrastructure but the root cause lies in Team B’s services. The question becomes: how do you enable collaboration across Agent Spaces?
Recommended approach: Create application-specific Agent Spaces that include read-only access to shared resource accounts (e.g. dependencies). Establish clear on-call escalation procedures and add them as runbooks when investigations identify cross-team root causes for efficient communication (e.g. via chat in Slack). Configure the shared service team’s resources with tags identifying which applications use them (example: app-id: ecommerce-frontend). Following a consistent tagging strategy provides investigation context for shared resources while maintaining clear resource ownership.
Pattern 2: Shared Services and Network Operations Center (NOC) Teams. Some organizations have centralized teams that provide and support shared infrastructure services (databases, networking, monitoring, security) used by multiple applications across the organization. These NOC or central operations teams need visibility into their services without requiring access to every application’s Agent Space.
Recommended approach: Create a dedicated Agent Space for the shared service team and configure an Agent Space scoped to the shared service team’s infrastructure and operational responsibilities:
This follows the same principle as application-specific Agent Spaces: one Agent Space per on-call team, even when that Agent Space’s scope spans multiple applications.
Pattern 3: Central Operations Teams Managing Many Applications. While shared services teams manage specific infrastructure domains, SRE teams often face an even larger challenge: operational responsibility for hundreds or thousands of applications at enterprise scale. Central operations teams responsible for operational tooling across hundreds or thousands of applications can efficiently manage Agent Spaces at scale using Infrastructure as Code.
Recommended approach: Use the AWS CDK or Terraform samples available as starting points. These samples enable teams to:
Central operations teams manage the templates and governance policies, while application teams operate within those guardrails. This approach scales to thousands of applications with consistent configuration and automated deployment. AWS DevOps agent allows limiting agent access in an AWS account and controlling access for users to the operator console for teams to manage Agent Space access at scale.
Figure 3: Enterprise scale pattern using Infrastructure as Code
Now that you understand how to design Agent Space boundaries aligned with your team structure and scale requirements, let’s walk through the practical implementation steps to bring these architectural patterns to life.
This section walks you through the practical steps of creating your first Agent Space—from verifying prerequisites and configuring IAM roles across accounts to integrating observability tools, setting up access controls, and testing your configuration to ensure investigations have the context they need.
Before setting up your first Agent Space, ensure you have:
With prerequisites verified, you’re ready to create your Agent Space and establish the IAM trust relationships that enable investigations.
AWS DevOps Agent requires IAM roles in each AWS account within the Agent Space boundary. The agent assumes these roles to query CloudWatch Logs, describe resources, and build application topology.
The AWS DevOps Agent is designed to retrieve operational data from multiple AWS Regions across all AWS accounts that you grant access to within the configured Agent Space, enabling comprehensive visibility into distributed infrastructure and applications regardless of their geographic deployment, while supporting multiple accounts through a configuration process that involves creating IAM roles with appropriate trust policies and permissions in secondary accounts
Option A: Use the AWS Console wizard Navigate to the AWS DevOps Agent console and choose Create Agent Space and follow the guided setup to create IAM roles in each target account.
Figure 4: Creating an Agent Space in the Console
The setup wizard helps in configuring cross-account trust relationships.
Figure 5: Multiple account configuration for your Agent Space
Option B: Use Infrastructure as Code (Recommended) We provide sample CDK and Terraform templates that automate Agent Space creation and IAM role deployment across multiple accounts.
AWS CDK example (TypeScript):
For detailed instructions on setting up IAM roles and permissions across accounts, see the CLI Onboarding Guide.
Once your Agent Space exists and has access to AWS accounts, the next critical step is connecting the observability and development tools that provide investigation context beyond AWS native services.
AWS DevOps Agent investigates incidents by correlating data from multiple sources. The more context available, the more accurate the root cause analysis.
Recommended integrations by priority:
Beyond built-in integrations, AWS DevOps Agent supports webhook triggered investigations and custom MCP (Model Context Protocol) servers so you can bring-your-own observability tools.
Webhook configuration for investigation triggers Webhooks allow external systems (Grafana, Prometheus, PagerDuty, custom monitoring tools) to automatically trigger DevOps Agent investigations when incidents occur. Each Agent Space receives a unique webhook URL that accepts JSON payloads describing the incident.
Common configuration pitfalls:
For detailed webhook setup, see Invoking DevOps Agent through Webhook.
Bring-your-own MCP servers If you use observability tools beyond the built-in integrations (Grafana, Prometheus, custom telemetry systems), you can connect them via MCP servers. MCP servers expose your tool’s data through a standardized protocol that DevOps Agent queries during investigations.
Key requirements for MCP servers:
Common MCP setup errors:
For comprehensive MCP server setup including authentication configuration, see Connecting MCP Servers.
Testing your integrations After configuring webhooks or MCP servers, trigger a test investigation to verify connectivity:
With your data sources connected, you now need to ensure the right people have appropriate access to investigations while maintaining security boundaries.
Agent Spaces support fine-grained access controls to ensure only authorized team members can interact with investigations.
Access control considerations:
IAM-based access control:
AWS DevOps Agent uses IAM policies to control access to Agent Spaces. Attach policies to IAM users, groups, or roles:
AWS DevOps Agent operates within your AWS environment with privileged access to operational data across multiple accounts. While general security foundations apply, Agent Space configuration introduces specific considerations. For comprehensive security guidance, see the AWS DevOps Agent Security documentation.
Access controls are in place—now it’s time to validate that your Agent Space configuration provides the investigation coverage you need.
Agent Space configuration is a two-way door decision. Start with a focused scope and expand based on investigation results.
Testing your Agent Space:
Trigger a test investigation using the AWS DevOps Agent web app.
Adjust Agent Space boundaries based on results.
AWS DevOps Agent transforms incident response from a manual, time-consuming process into an autonomous, data-driven investigation. However, the agent’s effectiveness depends on proper Agent Space configuration. By following the on-call based approach—granting access to accounts relevant to your application while separating production from non-production environments—you provide sufficient context for accurate root cause analysis without introducing unnecessary complexity.
Key takeaways:
Next steps:
We’re committed to making AWS DevOps Agent easier to adopt and more accurate in solving customer problems. Your Agent Space setup is the foundation for achieving fast, reliable incident resolution. Have questions or feedback? Leave a comment below.
Tipu Qureshi is a Senior Principal Technologist in AWS Agentic AI, focusing on operational excellence and incident response automation. He works with AWS customers to design resilient, observable cloud applications and autonomous operational systems.
Bill Fine is a Product Management Leader for Agentic AI at AWS, where he leads product strategy and customer engagement for AWS DevOps Agent.
Greg Eppel is a Principal Specialist for DevOps Agent and has spent the last several years focused on Cloud Operations and helping AWS customers on their cloud journey.